Stringer Topo provides multiple ways for customers to interact with and edit the points and survey strings that define your feature surveys. Starting from Stringer Topo V23, we expanded your access to your data editing options to extend beyond running commands from the ribbon or running from the command line.
Today, you can also view and edit your survey data in a dedicated editing window. Using the Survey String Manager, you can select any point or survey string to view properties, and edit the selected object by right click or from the contextual ribbon.
As well, there is a dedicated Stringer Toolspace, operating as a standard CAD palette, for you to create and edit points, point groups, survey strings and surfaces. Navigation is simple with you able to expand object groups, highlight objects in the drawing and right click anywhere to run commands.
Techniques for Editing Points and Strings
Stringer Topo provides multiple ways for customers to interact with and edit the points and survey strings that define your feature surveys. Below we’ll walk you through the different ways to access your survey data in Stringer Topo.
Command Line Shortcuts
Let’s get started with an option that I’m sure many of you have used in the past. Using the Command Line is a common method to start commands and an efficient way for experienced users to execute commands. Stringer Topo includes shortcut commands, allowing you to avoid searching through the ribbon or tool palettes.
This of course does require you to know each of the commands and the keyboard shortcut.
Below is a list of Command Line editing options available to Stringer Topo users, all focussed on managing how survey strings connect between points:
- STTA – Create an arc segment from the selected point to the next point, using the tangency of the incoming line to the point.
- STTF – Fit a curve from the selected point and using the next two points
- STTL – Return to straight line connection between points
- STTC – Close a String from last to first point
- STTR – Create a rectangle from 3 points in a survey String
- STTO – Reorder Distance to Next
- STTS – Reorder by A.I.
- STTD – Delete Segment
Stringer Ribbon
The Stringer Ribbon itself is a great place to see all the settings, creation, editing and output commands, arranged in a logical workflow.
Commands are supported with an icon for quick recognition, as well as command name and description. Command options are however not filtered based on selection in the drawing, so it can be a bit overwhelming for new users.
Survey String Manager
The Survey String Manager speeds up your review and editing efforts by providing filtering – the Survey String Manager form natively displays only your survey points and strings, removing clutter, and when an object is selected the Ribbon displays functionality relevant to the object selected.
There are three ribbon tabs in the Survey String Manager.
Home Tab
The Home ribbon includes all common functionality such as settings, display controls, utility tools, crossing breakline reporting, and multi edit commands. Utility tools apply to multiple survey objects, such as the AI Solver which resolves all self-intersecting survey strings within the drawing.

Survey Strings Edit Tab
The Survey Strings Edit tab automatically displays when you select a survey string and includes all your editing options available for the selected survey string.
Commands included in this tab apply to the selected string only and include edits such as reordering how survey linework is connected, deleting/splitting linework segments, joining linework and multi-coding.

Point Edit Tab
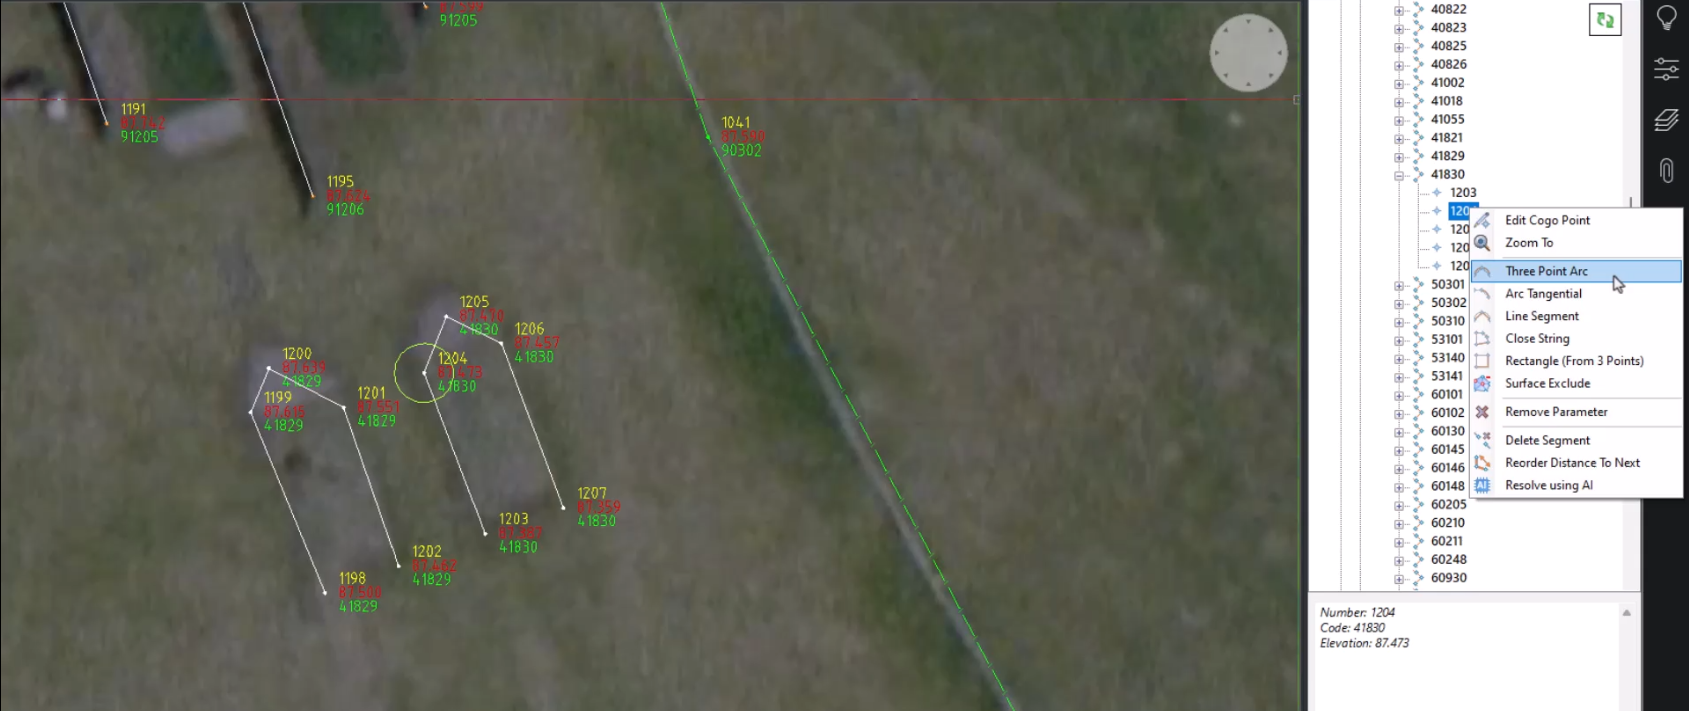
The Point Edit tab automatically displays when you select a COGO Point and includes all your editing options available for the selected Point.
Commands included in this tab apply to the selected point only and includes edits to the point code, point number, multi-coding, and applying/removing Linework Parameter commands.

Stringer Toolspace
The String Toolspace provides a centralised location for all the objects you create with Stringer Topo, as well as providing access to the settings. From the Stringer Toolspace you can view, highlight, create, edit, delete and manage display of all Stringer data.
The Stringer Toolspace works like other CAD tool palettes, able to be resized, docked and minimised in the drawing.
All your data is logically grouped and organised in order of your design workflow.
Managing and Editing Data using the Toolspace
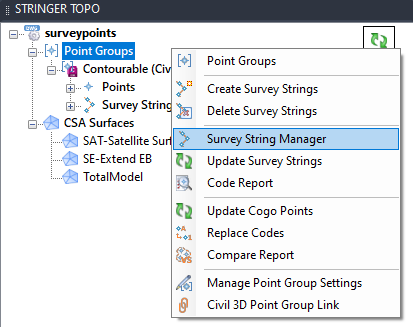
You can expand object collections, such as Point Groups, and expand individual Point Groups to see the Points and Survey Strings created for the group. When you right click on a Point Group, you will have access to commands relevant for the selected point group.
Expand the groups to access individual points and survey strings. When you hover on a point or survey string it will highlight in the drawing. Right click to see the commands relevant to that selected object and make direct edits.
Survey Strings display the points in the order the survey linework is connected, and you can directly add linework parameters to points and reorder points wherever you see an issue in the drawing.
Accessing Settings
Right click on the drawing name at the top of the Toolspace to access settings.
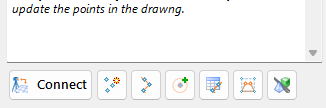
Core Commands
At the bottom of the toolspace are the core commands. From here you can run Stringer Connect to import and manage raw survey data, create survey strings, add multi symbols, legend tables, point transforms and Model Viewer.